Why Clay Soil Frustrates So Many Gardeners
Clay soil is one of the most common frustrations for Australian gardeners, particularly across parts of Melbourne where heavy clay sits just beneath a thin layer of topsoil. It holds water well, but often too well, leaving plant roots sitting in waterlogged, oxygen-starved ground after rain. In summer, the same clay bakes hard and cracks, making it difficult for water or roots to penetrate at all.
Rather than fighting these extremes every season, many gardeners find it far more effective to physically improve the soil structure by working in a generous quantity of sandy loam. Done properly, this single step can transform a stubborn, unproductive clay bed into a soil that drains well, holds nutrients, and supports healthy root growth year-round.
It’s worth understanding why clay behaves the way it does before attempting to fix it. Clay particles are extremely small and flat, and they pack tightly together, leaving very little space for air or water to move through. This same tight structure is what makes clay so good at holding onto nutrients, which is actually an advantage once the drainage problem is addressed alongside it.
Why Sandy Loam Is the Right Fix
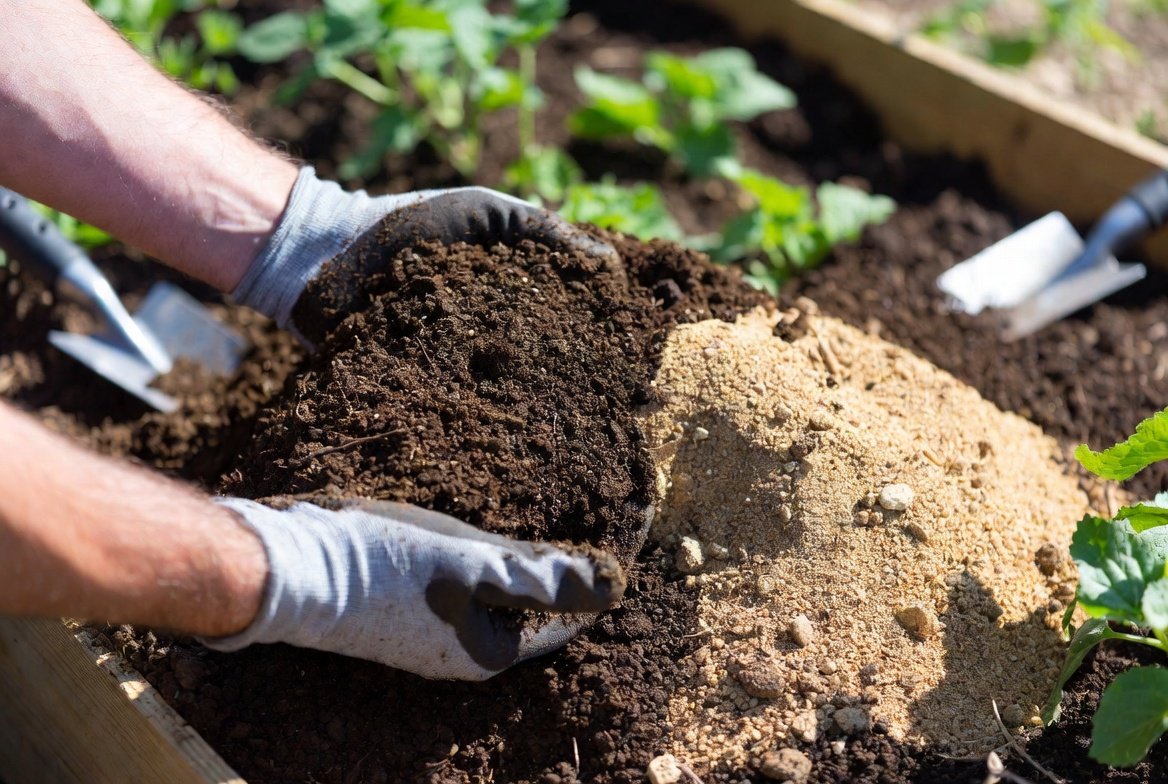
Sandy loam is a balanced mix of sand, silt, and clay that naturally sits between the two extremes gardeners struggle with. When incorporated into heavy clay, its coarser particles create air pockets and drainage channels throughout the soil profile, breaking up the dense structure that causes clay to become waterlogged and compacted.
Unlike adding pure sand, which can actually make clay soil worse by creating a concrete-like mixture if not blended in the correct ratio, sandy loam already contains a balanced particle structure, making it a much safer and more forgiving amendment for home gardeners to work with.
How Much Sandy Loam to Add
As a general rule, working sandy loam into the top 200-300mm of existing clay soil at a ratio of around one part sandy loam to one part existing clay gives a noticeable improvement in structure without diluting the soil’s nutrient content too heavily. For particularly dense, compacted clay, a slightly higher proportion of sandy loam, up to two parts sandy loam to one part clay, may be needed to achieve a workable texture.
It’s worth avoiding the temptation to simply spread a thin layer of sandy loam on top of clay soil without digging it in. Left unmixed, this creates distinct soil layers that can actually trap water at the boundary between the two, worsening drainage rather than improving it. Proper incorporation, using a fork, tiller, or excavator for larger areas, is essential to get the full benefit.
Step-by-Step Process
Start by removing any large rocks, roots, or debris from the existing clay bed, then break up the top layer using a garden fork or rotary hoe to loosen compaction. Spread the calculated volume of sandy loam evenly across the surface, then work it into the loosened clay to a consistent depth, mixing thoroughly rather than layering.
Once mixed, rake the surface level and, if time allows, leave the bed to settle for one to two weeks before planting, watering lightly during this period to help the new soil structure bind together naturally. Adding a layer of organic compost on top before planting will further boost fertility, since the mixing process can temporarily dilute nutrient concentration.
Best Time of Year to Do This Work
In Melbourne’s climate, autumn and early spring are generally the best times to carry out major soil improvement work. The ground is neither baked hard from summer heat nor saturated from heavy winter rain, making it far easier to dig, mix, and achieve an even blend. Attempting this work during a wet winter often results in a muddy, difficult-to-mix combination, while the dry summer months can make heavy clay almost impossible to break up by hand.
Signs the Soil Has Improved
A well-amended bed should feel noticeably looser and crumblier to the touch compared to the original clay, and water should visibly soak in within a few minutes of watering rather than pooling on the surface. Over the following season, most gardeners notice deeper, healthier root systems in vegetables and ornamentals alike, along with reduced surface cracking during dry spells.
Ongoing Maintenance
Improving clay soil with sandy loam is not always a one-time fix. Clay particles can gradually settle back toward their original density over several years, particularly in garden beds subject to heavy foot traffic or repeated deep digging. Topping up with a thinner layer of sandy loam every few years, along with regular additions of compost and mulch, helps maintain the improved structure long-term.
Sourcing Sandy Loam for Soil Improvement
For larger garden beds or full-yard renovations, buying sandy loam in bulk is far more economical than smaller bagged quantities. Building & Garden Supplies in Truganina supplies screened sandy loam suitable for soil improvement projects, with delivery available across Melbourne to help gardeners tackle even large clay-heavy yards without excessive cost or effort.
Final Thoughts
Clay soil doesn’t have to remain a permanent obstacle in the garden. With the right approach, and a generous, well-mixed application of sandy loam, even the heaviest clay can be transformed into a soil that supports healthy, productive planting for years to come.


One thought on “How to Improve Clay Soil by Mixing in Sandy Loam”
Comments are closed.